

Ever get a craving for creamy, silky hummus—only to discover there’s no tahini in sight? Or maybe you just want to skip it altogether. You’re not alone. Whether due to allergies, taste preferences, or an empty pantry, making tahini-free hummus is easier than you think—and just as delicious. This recipe shows that you can achieve that velvety texture and rich flavor without tahini. With just a few simple ingredients, such as chickpeas, olive oil, and lemon juice, you can make a batch that’s unbelievably smooth and packed with protein in minutes.
Why settle for store-bought when you can control the flavors with homemade? Roast garlic for depth, add a pinch of cumin for warmth, or keep it classic—the choice is yours. Let’s make a dip that’s as versatile as it is easy—perfect for snacks, lunches, or impressing guests. Are you ready to blend up something unbelievably good?
The Tahini Dilemma: My Journey to Crafting the Ultimate Hummus
I still remember discovering I had run out of tahini in the middle of making my recipe. There I was with the chickpeas drained, the lemon juiced, and the garlic minced, only to find an empty sesame seed jar staring back at me. A wave of panic washed over me. Could I still call it hummus without tahini?
As it turns out, some of life’s best discoveries happen by accident. After some frantic experimenting (and a few questionable blender moments), I came up with a version so good that my friends now request it over traditional hummus. The secret? I amplified the other flavors—sweet roasted garlic, bright lemon, and luxe olive oil—to create a dip that’s silkier than your favorite sweatpants.
This recipe has turned into my staple for last-minute get-togethers, allergy-conscious platters, or those moments when you need hummus fast—no store run required. It taught me that limitations often lead to the most creative cooking and that tahini, while lovely, is optional. Let’s make the creamiest hummus you’ve ever tasted with no specialty ingredients required!
(Insider tip: That chickpea liquid you’ve been tossing away? It’s about to become your new kitchen superhero.
The Tahini-Free Hummus Revelation
I used to think hummus wasn’t hummus without tahini – until a last-minute potluck panic proved me wrong. That night taught me three things:
- Chickpeas are incredibly forgiving
- Lemon juice and olive oil can work magic
- Nobody will miss the tahini if you nail the texture
Why This Works So Well
- Creaminess hack: The starchy aquafaba (that liquid in your chickpea can) whips up like egg whites to create unbelievable lightness
- Flavor boosters: Roasted garlic adds depth while extra lemon brightens everything up
- Texture trick: Ice-cold water helps break down the chickpeas for that signature smoothness
Key Ingredients That Make the Difference
- Chickpeas: Either canned (for convenience) or home-cooked (for extra creaminess)
- Good olive oil: This is your flavor carrier – splurge on the tasty stuff
- Fresh lemon juice: Bottled just can’t deliver the same bright pop
The Game-Changing Technique
Most hummus fails happen during blending. Here’s how to avoid common pitfalls:
- Process your chickpeas alone first to break them down
- Add liquids slowly while the machine runs
- Scrape down the sides religiously
Pro Tip: If your hummus looks grainy, add 1 tablespoon of ice water at a time until it transforms. This works better than adding more oil.
What started as a kitchen mistake became my signature party trick. The best part? You probably have everything you need in your pantry right now. Let’s turn those humble ingredients into something extraordinary.
The Simple Ingredients That Make Magic
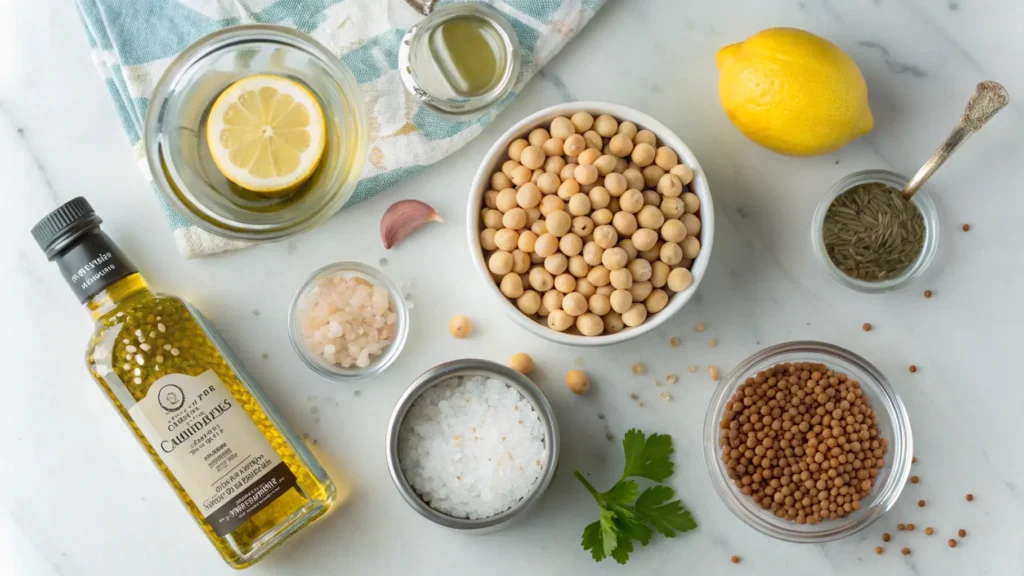
Let’s talk about what actually goes into this tahini-free hummus. You may be amazed at how few ingredients are required to whip up something so rich and delicious.
The Essential Foundation
- 2 cups cooked chickpeas (about 1 can, drained but liquid reserved)
- 1/4 cup extra virgin olive oil (plus more for drizzling)
- 3 tablespoons fresh lemon juice (about 1 large lemon)
- 1 garlic clove (or 2 if you love bold flavor)
- 1/2 teaspoon ground cumin
- 1/2 teaspoon salt (adjust to taste)
- 2-4 tablespoons ice water (the secret weapon)
Why These Ingredients Work Together
Each component plays a specific role in creating the perfect hummus:
- Chickpeas provide the hearty base and protein
- Olive oil adds richness and helps create smooth texture
- Lemon juice brightens all the flavors
- Garlic gives that essential savory depth
- Cumin offers warm, earthy notes
Ingredient Notes That Matter
- Chickpea options: Canned works perfectly, but if using dried, soak them overnight and cook until very tender
- Olive oil quality: Since we’re skipping tahini, your oil’s flavor really shines through
- Fresh vs bottled lemon: Fresh makes a noticeable difference in brightness
- Garlic intensity: For milder flavor, roast the garlic first
The One Pantry Staple You Shouldn’t Skip
That reserved chickpea liquid (aquafaba) might look unassuming, but it’s packed with starch that helps emulsify your hummus. Start with 2 tablespoons when blending, then add more as needed to reach your perfect consistency.
Simple Swaps for Dietary Needs
- For oil-free: Use aquafaba or vegetable broth instead
- For garlic-free: Try roasted red peppers for depth
- For extra creaminess: Add a tablespoon of plain yogurt
These simple ingredients demonstrate that you don’t need elaborate additions to craft outstanding hummus. When blended with care, they result in a creation that surpasses the individual components—smooth, delicious, and entirely free of tahini.
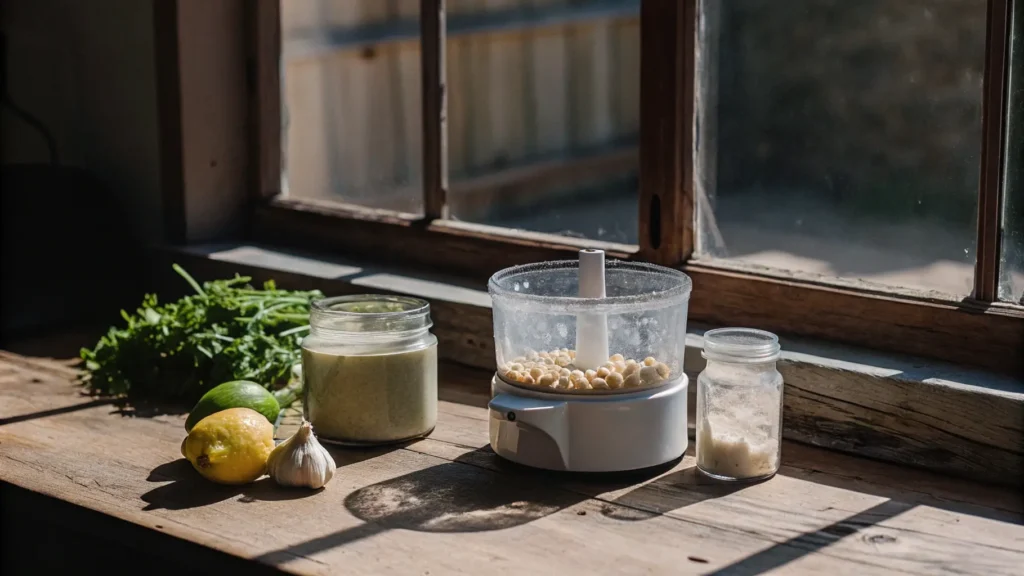
A Step-by-Step Guide to Achieving Perfect Hummus Without Tahini
Allow me to guide you through the straightforward process of turning everyday ingredients into smooth, indulgent hummus. I’ve made this dozens of times, and these are the techniques that guarantee success every time.
Prep Work First
- Drain chickpeas but reserve ¼ cup of the liquid (aquafaba)
- Peel garlic and juice your lemon
- Measure out all ingredients before starting
- Chill ½ cup water with ice cubes
The Blending Process
- Food processor setup: Use the standard blade attachment for best results
- Initial blend: Pulse chickpeas alone for 30 seconds to break them down
- Add flavor base:
- Drop in garlic cloves
- Add cumin and salt
- Pour in lemon juice
- Process for 1 minute until mixture looks crumbly
Achieving the Perfect Texture
- With machine running, slowly drizzle in olive oil through the feed tube
- Add 2 tablespoons of ice water, one at a time
- Scrape down sides every 30 seconds
- Continue processing for 2-3 minutes total
Troubleshooting Tips
If your hummus is:
- Too thick: Add more ice water, 1 tablespoon at a time
- Too thin: Blend in a handful of additional chickpeas
- Not smooth enough: Process longer and scrape more frequently
The Final Touch
Taste and adjust:
- Need more tang? Incorporate lemon juice gradually, starting with ½ teaspoon at a time.
- Want more depth? Add a pinch more cumin
- Missing richness? Drizzle in another tablespoon of olive oil
Pro Technique
For restaurant-quality smoothness:
- Blend for full 5 minutes
- Press mixture through a fine mesh sieve
- Chill for 1 hour before serving
The key is patience during blending. Taking those additional minutes to process truly transforms the hummus into a silky blend that nearly slides off the spoon. Remember, the hummus will thicken slightly when chilled, so aim for a slightly looser consistency than you ultimately want.
Storage Tip
Transfer to an airtight container and press plastic wrap directly on the surface before sealing to prevent oxidation. This keeps your hummus fresh and vibrant for up to 5 days.
Expert Tips and Flavor Variations to Customize Your Hummus

Now that you’ve mastered the basic tahini-free hummus, let’s explore how to customize it to your taste. These are the same tricks I use to keep my hummus exciting week after week.
Texture Secrets for Silky Results
- Peel your chickpeas – Removing the skins creates an ultra-smooth texture (worth the extra 5 minutes for special occasions)
- Ice water magic – The colder the water, the better it emulsifies with the olive oil
- Resting time – Let the blended hummus sit for 30 minutes before serving; the flavors meld and the texture improves
Flavor Boosters to Try
For depth:
- ½ teaspoon smoked paprika
- 1 roasted red pepper (blended with the chickpeas)
- 2 sun-dried tomatoes (oil-packed)
For brightness:
- Zest from ½ lemon
- 1 tablespoon chopped fresh herbs (dill or parsley work beautifully)
- ½ teaspoon sumac
Dietary Adaptations
- Oil-free version – Substitute the olive oil with 3 tablespoons aquafaba
- Extra protein – Blend in 2 tablespoons Greek yogurt
- Low-sodium – Use no-salt-added chickpeas and increase the lemon juice
Unexpected Twists
- Beet hummus – Blend in ½ cup roasted beets for vibrant color and earthy sweetness
- Avocado hummus – Add ½ ripe avocado for creaminess (best consumed same day)
- Spicy version – Include ½ teaspoon cayenne or 1 minced jalapeño
Presentation Matters
Create an Instagram-worthy bowl by:
- Swirling the hummus with the back of a spoon
- Drizzling with high-quality olive oil
- Sprinkling with:
- Toasted cumin seeds
- Chopped pistachios
- Smoked paprika
- Fresh parsley
Storage & Make-Ahead Tips
- The hummus tastes best after chilling for at least 2 hours
- Store in an airtight container with a thin layer of olive oil on top to prevent drying
- Freezes well for up to 1 month (Defrost in the refrigerator overnight and give it a good stir before serving)
Closing Thoughts
The beauty of this recipe lies in its adaptability. Once you’re comfortable with the basic version, don’t be afraid to experiment. Some of my favorite flavor combinations were happy accidents – like the time I added leftover roasted garlic and created what my friends now call “crack hummus.” Remember, even if a variation doesn’t turn out perfect, you’re just one batch away from your new favorite creation.
Next time you make it, try one small twist – maybe an extra clove of garlic or a sprinkle of za’atar. Those personal touches are what will make this recipe truly yours.
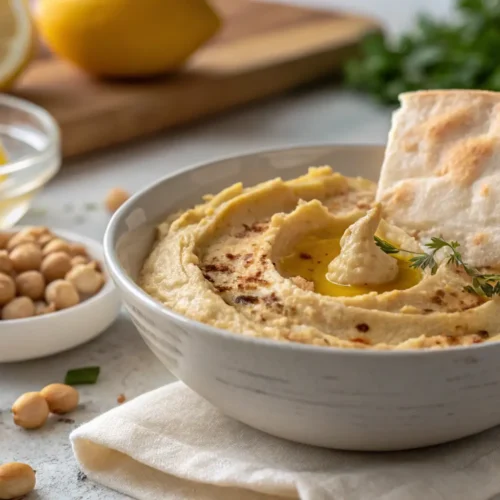
Serving Ideas and Ideal Pairings
Your tahini-free hummus is all set—now let’s transform it into unforgettable meals and snacks. These are the same serving ideas I rely on for everything from quick lunches to impressive entertaining.
Timeless Serving Suggestions
- The Basic Platter:
- Heated pita bread, cut into wedges
- Crisp vegetable crudités (cucumber, bell peppers, carrots)
- Kalamata olives and pickled vegetables
- The Bowl Upgrade:
- Swirl hummus as a base for grain bowls
- Top with roasted vegetables and a soft-boiled egg
Unexpected Uses You’ll Love
- Sandwich spread: Replace mayo with hummus on wraps and sandwiches
- Pasta sauce: Thin with pasta water for a creamy vegan sauce
- Baked potato topper: Swap sour cream for a dollop of hummus
- Deviled egg mixture: Combine with egg yolks for a protein-rich variation
Pairings That Shine
For breakfast:
- Spread on toast with sliced avocado and everything bagel seasoning
- Dip for breakfast potatoes or hash browns
For lunch:
- Stuff into pita pockets with shredded lettuce and grilled chicken
- Pair with falafel and tabbouleh
For entertaining:
- Create a Mediterranean mezze board with feta, dolmas, and marinated artichokes
- Serve as part of a crudité tower for visual impact
Temperature Tips
- Serve slightly chilled (about 30 minutes out of the fridge) for best texture
- If using as a warm dip, gently heat in microwave at 30-second intervals, stirring between each
Portion Guidance
- As an appetizer: Allow ¼ cup per person
- As a main component: ½ cup per serving
- For meal prep: Divide into ½ cup portions in small containers
Presentation Pro Tips
- Use the back of a spoon to create swirls that catch toppings
- Garnish with a drizzle of olive oil and your chosen sprinkle
- Serve in a shallow bowl for easy dipping
- For parties, place small bowls throughout the serving area
Leftover Makeovers
Transform extra hummus into:
- Salad dressing (thin with lemon juice and water)
- Veggie burger binder (mix with breadcrumbs)
- Savory pancake batter (add to chickpea flour)
The versatility of this hummus is what keeps it in my weekly rotation. It transitions effortlessly from afternoon snack to dinner party staple, proving that simple ingredients can adapt to any occasion. My top choice? A simple lunch featuring warm pita and fresh, crunchy vegetables, and a generous scoop of this creamy hummus—it never fails to satisfy.
Remember, the best way to serve it is the way you enjoy it most. Whether enjoyed directly from the spoon or incorporated into a lavish spread, this tahini-free version delivers flavor and nutrition without compromise.
Storing and Refreshing Your Tahini-Free Hummus
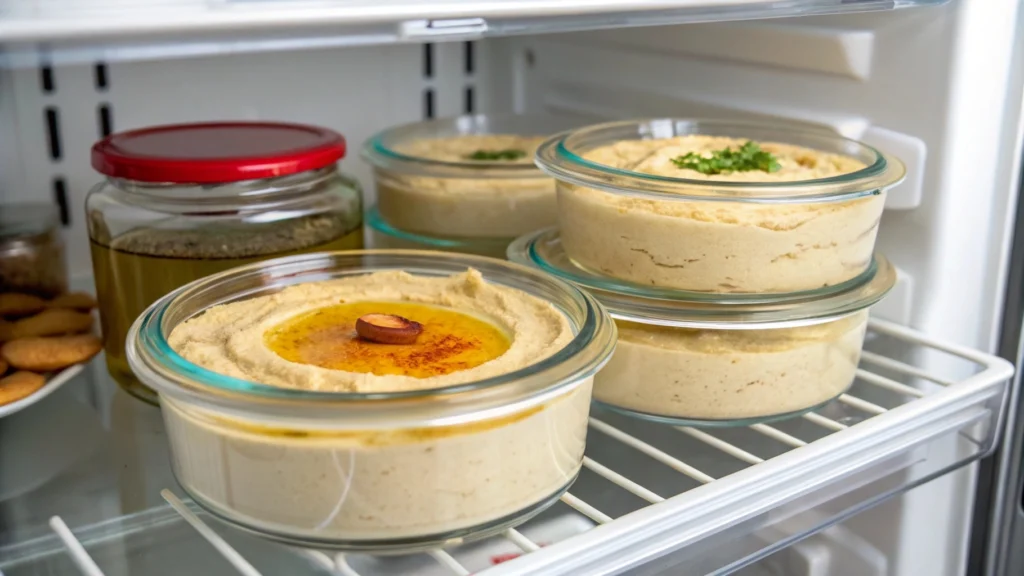
Nothing compares to freshly made hummus, but with these storage tricks, you can enjoy that same creamy texture days later. I’ve tested every method to find what really works.
Proper Storage Methods
- Refrigerator storage:
- Use an airtight container
- Press plastic wrap directly on the surface
- Top with a thin layer of olive oil before sealing
- Consume within 5 days for best quality
- Freezer storage:
- Portion into freezer-safe containers
- Leave ½ inch headspace for expansion
- Label with date (lasts 3 months frozen)
- Thaw overnight in refrigerator
Reviving Leftover Hummus
When your hummus loses its luster:
- Stir in 1 teaspoon fresh lemon juice
- Drizzle with ½ teaspoon olive oil while stirring
- For dry hummus, blend in 1 tablespoon ice water
- For flavor boost, add a pinch of fresh garlic powder
Meal Prep Strategies
- Make a double batch on Sunday
- Divide into single-serve containers
- Top each with different garnishes for variety:
- Monday: Roasted red peppers & pine nuts
- Wednesday: Za’atar & olive oil
- Friday: Smoked paprika & parsley
When to Discard
Your hummus has gone bad if:
- It develops an off smell (sour or fermented)
- You see mold growth (fuzzy spots)
- The color changes significantly
- The texture becomes watery or separates permanently
Uses for Older Hummus
When it’s past its prime for dipping but still safe to eat:
- Stir into soups for creaminess
- Mix with breadcrumbs for veggie burger binder
- Thin with vinegar for salad dressing
- Spread on sandwiches instead of mayo
Temperature Matters
- Always return refrigerated hummus to room temperature before serving (about 20 minutes)
- Avoid leaving hummus out at room temperature for longer than 2 hours.
- If traveling with hummus, pack in a cooler with ice packs
Batch Cooking Tips
For those who make large quantities:
- Reserve some aquafaba when draining chickpeas
- Store separately in freezer for future texture adjustments
- Freeze in ice cube trays for easy portioning
The secret to great stored hummus is treating it like fresh each time you serve it. A quick stir, a drizzle of oil, and maybe a sprinkle of something new can make day-old hummus taste just made. I make it a point to prepare a batch every week on my meal prep day. It’s become my go-to healthy snack and one of the best ways I save time in the kitchen.
Final Thoughts & Why This Recipe Works
After years of testing countless hummus variations, this tahini-free version has earned a permanent spot in my kitchen. Here’s why I think you’ll love it as much as I do.
The Unexpected Benefits
- Pantry-friendly: Uses ingredients you likely already have
- Budget-conscious: Eliminates expensive tahini without sacrificing quality
- Time-efficient: Ready in 10 minutes from start to finish
- Allergy-aware: Safe for nut and sesame allergies
- Customizable: Adapts easily to different tastes and diets
What Makes This Version Special
The magic happens when:
- Quality olive oil replaces tahini’s richness
- Aquafaba provides unexpected creaminess
- Proper blending technique ensures perfect texture
- Fresh lemon juice brightens all the flavors
Common Concerns Addressed
- “Will it taste flat without tahini?”
The combination of roasted garlic, cumin, and lemon creates surprising depth - “Can it really be creamy?”
The ice water method produces silky results every time - “Is it worth making from scratch?”
The flavor difference from store-bought will convince you
How This Recipe Changed My Habits
- I now keep canned chickpeas stocked at all times
- My vegetable consumption increased just by having this healthy dip available
- Entertaining became easier with this reliable crowd-pleaser
- Meal prep feels more manageable with versatile hummus on hand
Your Next Steps
- Gather your ingredients (you probably have most already)
- Clear space in your fridge for storage
- Prepare your favorite dippers
- Experience how simple ingredients transform into something extraordinary
A Final Tip From My Kitchen
The first time you make this, follow the recipe exactly. Then start experimenting. Some of my favorite variations came from happy accidents—like the time I added too much lemon and created an unexpectedly bright version my friends now request. That’s the beauty of this adaptable recipe: it welcomes creativity while forgiving small mistakes.
This hummus proves that sometimes limitations lead to the best creations. When tahini isn’t the main ingredient, the vibrant flavors of the chickpeas, olive oil, and lemon can shine. I’d love to hear how it turns out for you—and what personal twists you discover along the way.
Frequently Asked Questions: Making Hummus Without Tahini
Absolutely! While tahini adds richness, this version highlights the nutty flavor of chickpeas, the brightness of lemon juice, and the silky texture from olive oil and aquafaba. Many find this tahini-free version lighter, fresher, and even more versatile.
The real game-changer is ice water. Adding it slowly during blending helps break down the chickpeas and emulsify the mixture into that ultra-smooth, almost whipped texture you’d expect from a restaurant-quality dip.
Aquafaba is the starchy liquid from canned chickpeas. It mimics the properties of egg whites and acts as a natural emulsifier, helping your hummus become light and airy. It’s the unsung hero of this tahini-free version.
Yes! Since it skips tahini, it’s naturally sesame-free, which is great for those with allergies. You can also make it oil-free, garlic-free, or even add yogurt for a dairy-inclusive option, depending on your dietary needs.
Start with more lemon juice, a touch more salt, or an extra clove of garlic. You can also blend in roasted red peppers, smoked paprika, or fresh herbs like parsley or dill to add layers of flavor.
Definitely. Just soak them overnight and cook until very tender. They offer an extra-creamy finish if you have the time. Just remember to reserve some of the cooking water—it works just like canned aquafaba.
The issue typically lies in the blending process. Try blending longer, scraping the sides more frequently, and don’t skip the ice water trick. For the ultimate smoothness, press the finished hummus through a fine mesh sieve or peel the chickpeas before blending.
When stored properly in an airtight container with a layer of plastic wrap pressed to the surface (and optionally topped with olive oil), it’ll stay fresh for about 5 days. For longer storage, freeze it for up to 3 months.
Yes! It freezes well. Just portion it into airtight containers, leave a little space for expansion, and defrost in the fridge overnight. Give it a good stir before serving, and refresh it with a touch of lemon juice or ice water if needed.
The classics always work—warm pita, crunchy veggies, or olives. But get creative: You can use it as a sandwich spread., pasta sauce, potato topper, or even as the base of a grain bowl. It’s endlessly adaptable.
If it smells sour, changes color, develops mold, or becomes overly watery or separated, it’s time to toss it. When in doubt, trust your nose and eyes.
Definitely. In fact, it tastes even better after a few hours in the fridge. Make it the night before, then garnish with olive oil, paprika, or chopped herbs right before serving for that fresh-made look and flavor.
Blend in beets for a pink twist, avocado for creaminess, or jalapeño for heat. You can also add Greek yogurt for extra protein or smoked paprika for a deeper flavor profile. The possibilities are endless—and delicious.
Once you taste the homemade version, there’s no going back. It’s fresher, more flavorful, and far more customizable than anything store-bought—and comes together in under 10 minutes with pantry staples.
How to Make Hummus Without Tahini
Equipment
- 1 Food processor orblender
- 1 rubber spatula
- 1 measuring spoons
Ingredients
- 2 cups ▢canned chickpeas drained (reserve ¼ cupliquid)
- ¼ cup ▢ extra virgin olive oil
- 3 tbsp ▢fresh lemon juice
- 1 ▢garlic clove
- ½ tsp ▢ground cumin
- ½ tsp ▢salt
- 2-4 tbsp ▢ ice water
Instructions
- Blend Base: Pulse chickpeas alone in food processor for 30 seconds
- Add Flavors: Incorporate garlic, cumin, salt, and lemon juice; process 1 minute
- Emulsify: With machine running, slowly drizzle in olive oil
- Adjust Texture: Add reserved chickpea liquid and ice water 1 tbsp at a time
- Finish: Blend 2-3 minutes until creamy, scraping sides as needed